Ever needed to capture a quick tutorial, record an online meeting, or share a school project? TinyTake makes those tasks simple with its easy screen capture and recording features. Whether you are a student, teacher, or professional, this tool helps you create and share content without the complexity of advanced editors. With built-in annotation tools and cloud sharing, TinyTake is a convenient solution for everyday recording needs.
Part 1. What Is TinyTake
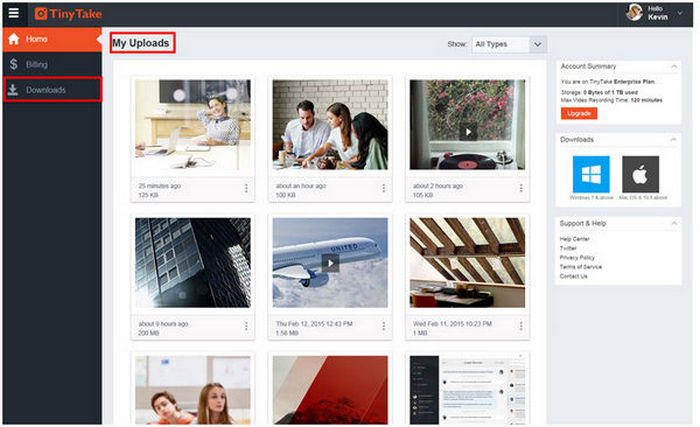
MangoApps built TinyTake in 2008 as a tool for screen capturing and recording. The software is available for both Windows and Mac operating systems and is intended to help users seize, comment, and share digital materials in the shortest time possible.
Complicated editors are not beginner-friendly. For this reason, TinyTake is centered on ease of use. Its integrated screenshot and recording capabilities, along with the ability to share via the cloud, make it an ideal tool for novice users trying to create tutorials, for office and school projects, or for participating in online meetings.
Part 2. Detailed TinyTake Review
TinyTake is often described as a beginner-friendly recording solution. Below is a closer look at its performance, practicality, cost, and how to use this software.
Key Features
• Image and Video Capture: Capture the whole screen, a specific window, a selected region, or a webcam feed.
• Annotation Tools: Add comments in the form of shapes, arrows, text, and even highlights to both pictures and videos. Advanced features need to be unlocked with a paid plan.
• File Sharing: Users can share the recorded videos via email, social networks, or a link. Uploading to YouTube is also an option.
• Built-in Cloud Storage: Comes with 2 GB of free storage. Premium users can expand storage up to 1 TB.
• GIF Creation: Convert screen recordings into GIFs for quick demonstrations or tutorials.
• Multiple Upgrade Plans: Depending on your needs, a free plan, a yearly subscription, or a 1-week pass is available.
Pricing Plans
| Plan | Price | Key Features |
|---|---|---|
| Free | $0 | 5-minute video limit, 2 GB cloud storage, basic capture & sharing. |
| Standard | $29.95/year | 15-minute recording limit, 20 GB storage, annotation tools unlocked. |
| Plus | $59.95/year | 30-minute recording limit, 200 GB storage, advanced sharing options. |
| Jumbo | $99.95/year | 60-minute recording limit, 1 TB storage, full premium feature set. |
| One-Week Pass | $9.95 (7 days) | Temporary access to all premium features, no yearly commitment. |
How to Use
Step 1 Visit the TinyTake official site to download and install their application. After installing, ensure to launch the application to begin.
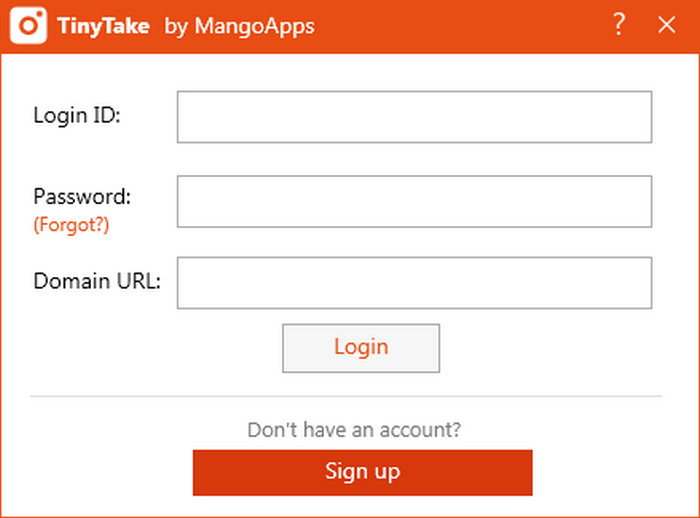
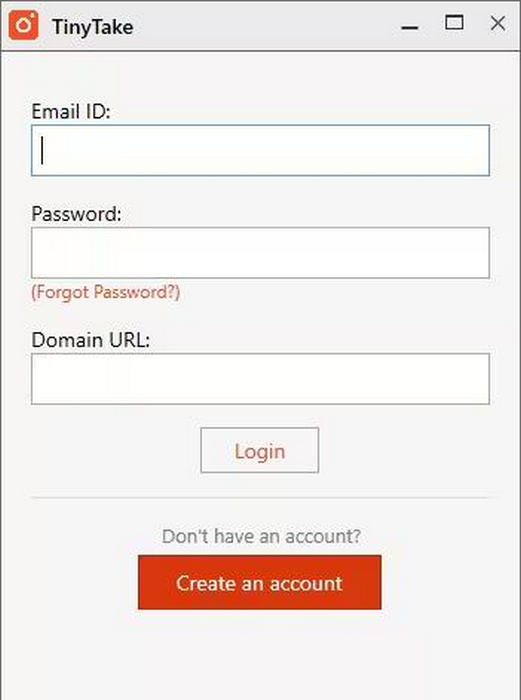
Step 2 For first-time users, upon launching the application, select Create an Account. Enter the requested fields, which include an email and a name, and for the subdomain section, you can select a name that will act as a link for you to share with others.
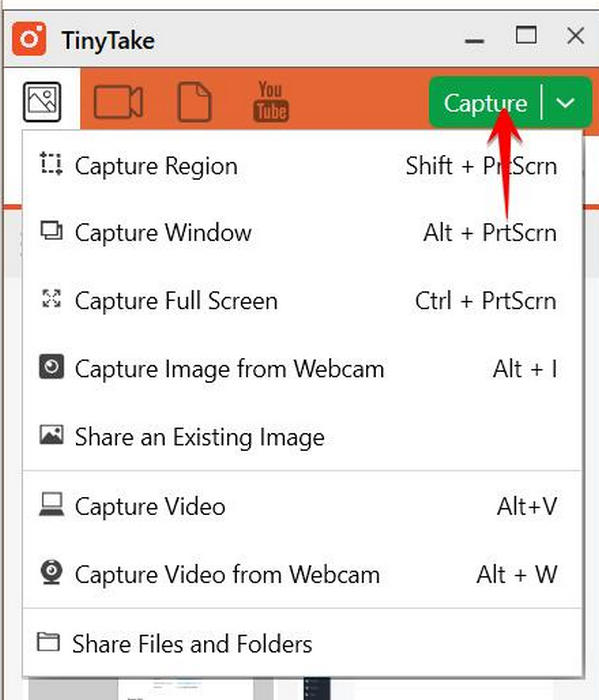
Step 3 After logging in, go to the Capture menu and select either screenshot, screen recording, webcam recording, or region-specific recording.
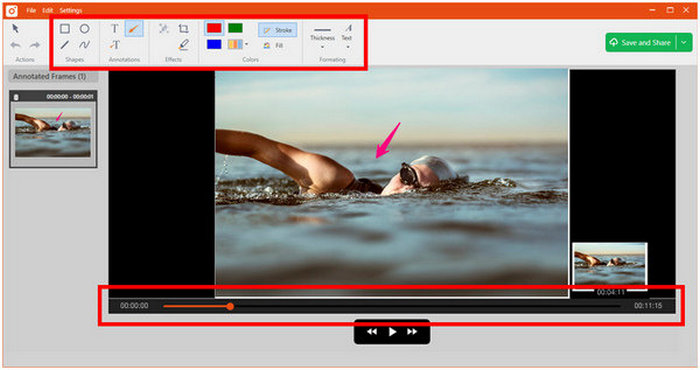
Step 4 After selection, capture mode will allow you to trim and edit to fit the video portions you want recorded. Choose the preferred audio input to capture your desired audio input, whether that be system sound, microphone, or both, and then hit Start Recording to begin.
Step 5 While editing the capture, take advantage of the included capture editing tools. Using the clarification tools, you are able to enhance the screenshot and video through the use of arrows, highlighting, shaping, and adding text.
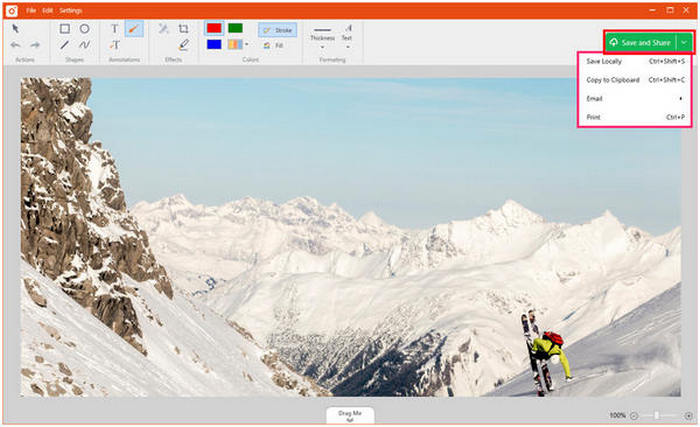
Step 6 After you finish, you can choose to save or share your output. You can save your output locally, upload it to TinyTake cloud storage, or share it via email, public link, or publish it directly on YouTube.
Performance
- The application performs well for taking screenshots and short recordings, making it a reliable option for quick screen capture of Windows tasks.
- Uploading to the cloud and directly to YouTube is quick and seamless.
- For casual use, the video quality is acceptable, but it is capped at 5 minutes on the free plan, which is a downside.
- The editing functions are minimal.
Practicality
- Useful for the educational sector and the general workforce.
- Cloud storage can be useful for groups as it aids collaboration.
- It is useful for recording, but it might be considered a lack of advanced editing tools for professionals.
Overall Rating
- Features: 4/5 (Excellent range of features, but long-form tools are gated behind the paywall)
- Performance: 3/5 (Functioning well, but bound to restrictions)
- Practicality: 4/5 (Outstanding for simple tasks, less for performative tasks)
Pros and Cons
- No cost to install and easy to use for first-timers.
- Upload directly to YouTube and cloud storage.
- Inexpensive premium features make TinyTake a practical desktop recorder for everyday use.
- Creation of GIFs is supported.
- Simple tools for annotation.
- Free tier limited to 5-minute recordings.
- Paid users get access to advanced features, free users get the basic tools.
- Simple video tools, but very limited in scope.
- Not as widely recognized as the bigger names in the industry.
Part 3. Best Alternatives to TinyTake You Cannot Miss
If you are looking for a more powerful and versatile alternative to TinyTake, Tipard Screen Capture is one of the best choices you can try. This tool offers excellent cost-performance value since it combines high-quality recording, smooth performance, and a wide set of features in one lightweight package. It provides a free version, so you can test it before purchasing, and it works seamlessly on both Windows and Mac.
- Get professional-level recording tools without spending a fortune.
- Try the software first and explore its full potential before buying.
- Capture your screen, window, custom area, or external devices like iPhone/Android.
- Record without lag in up to 1080p or higher, with crystal-clear audio.
- Compatible with both platforms, making it flexible for all users.

How to Use
Step 1 Get the Program
Go to the official page of Tipard to download the installer for Windows or Mac. Execute the setup file and follow the steps to complete the installation.
Step 2 Start the Application
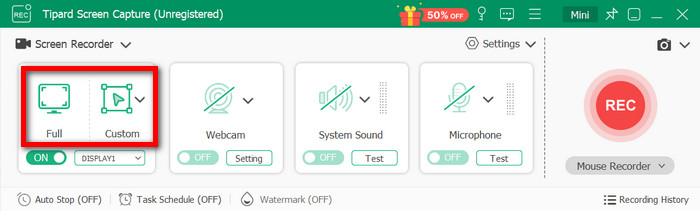
After installation, launch Tipard Screen Capture. On the main interface, choose Screen Record, then select either Full to capture your entire screen or Custom to record only a specific area. You can also find options for audio, webcam, and external devices.
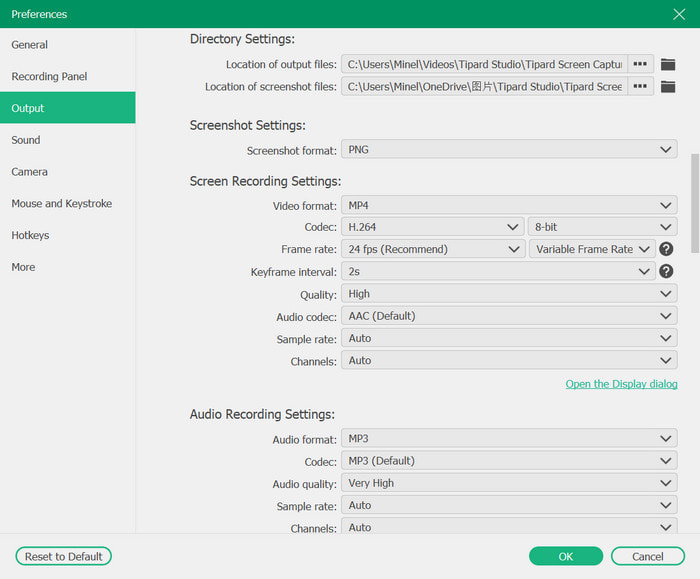
Step 3 Set the Application Preferences
Screen recording allows you to capture an entire screen, or focus on a single area or window. Webcam overlay and microphone recording can also be turned on if needed.
Step 4 Check Options and Set Preferences
Click on the Settings option to change the video resolution, frame rate, hotkeys, and output format.
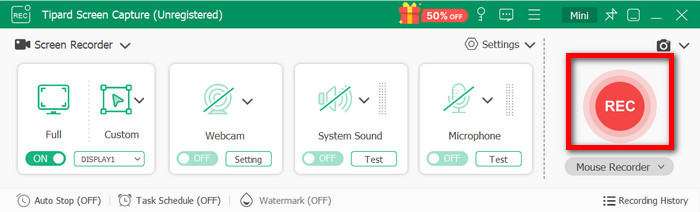
Step 5 Click Start to begin
Click the REC button to record. Screen annotation during recording includes the use of arrows, text, and drawings.
Step 6 Stop & Preview
Click Stop when you are done. Trimming and instant previews can be done prior to saving to the local drive.
Conclusion
This TinyTake screen recorder review shows that while the tool is simple and convenient for beginners, it may feel limiting for advanced users. Its free plan is ideal for basic tasks, but premium upgrades unlock longer recordings and more storage. If you need a lightweight solution for quick captures, TinyTake works well, but for professional-grade features, exploring alternatives like Tipard Screen Capture is a smarter choice.
More Reading


About the Author