Audio recording has become an essential part of everyday life, whether you are capturing a meeting, saving a lecture, creating a podcast, or simply recording a quick idea before you forget it. You have probably experienced moments when you needed to record something important but did not know which tool to use or how to get the best quality. With different devices offering different recording options, it can be not very unclear to figure out where to begin. This guide walks you through the easiest and most reliable ways to record audio on Windows, Mac, iPhone, Android, and more, plus pro tips for crystal-clear sound.
Part 1. How to Record Audio on Windows 10 & 11
1. Using Tipard Screen Capture
Tipard Screen Capture is a multi-functional tool that allows users to record high-quality audio through the desire. It is great for audio recording Windows tutorials/podcasts/game audio, and theater game audio.
- Record system audio and microphone simultaneously or separately.
- Save recordings in multiple formats, including MP3, AAC, M4A, and WMA.
- Preview and edit recordings immediately after capturing.
- Schedule recordings by time or file size.
- User-friendly interface suitable for beginners and professionals alike.

Step 1 Download and Install the Tool
Go to their Tipard website, download Tipard Screen Capture and follow the configuration instructions on the interface to install.
Step 2 Launch the Program
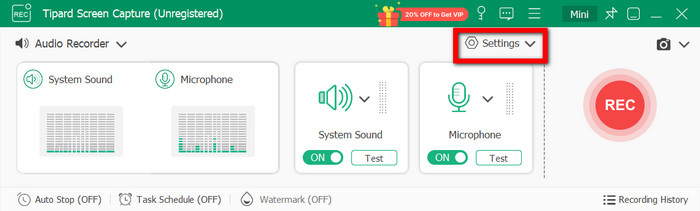
Run Tipard Screen Capture and choose the only shooting Audio Recorder option. You can choose from the audio source: System Sound, Microphone, or both.

Step 3 Adjust Audio Settings
Click the Settings button to choose the output format, quality, and save to where. You can adjust volume levels if needed.
Step 4 Start Recording
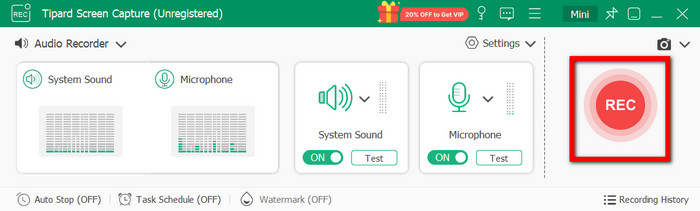
Click the red REC button to begin recording. Speak or play the wanted audio onto the capture.
Step 5 Stop and Store The Recording
Click the Stop button to end the recording. You can preview your audio, easily make edits if needed, and save it locally in your preferred format.
2. Using Sound Recorder (The Built-in App)
It is inexpensive, easy, and versatile, allowing users to rapidly and quickly capture audio. It is easy to manage, freely available, and it has the functionalities to record, pause, edit, and save audio files.
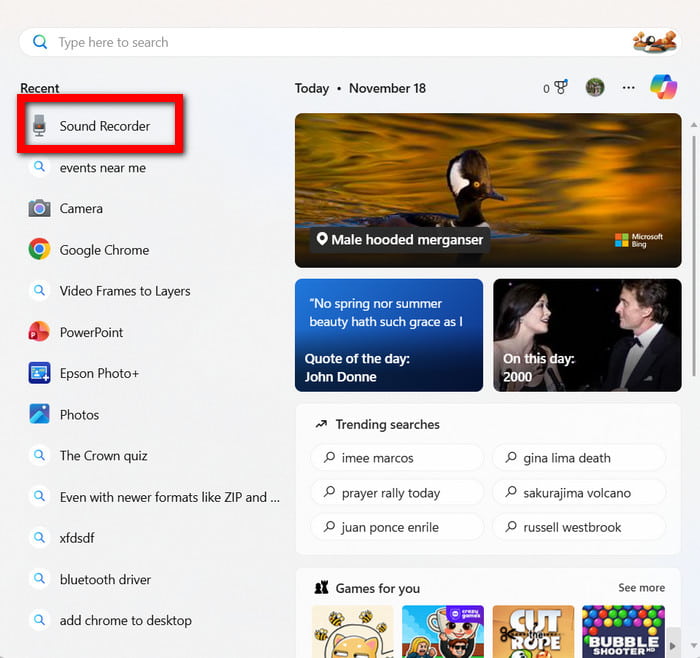
Step 1 Look for the app called Sound Recorder in the Start Menu and open it.
Step 2 Start recording by pressing the microphone button. Speak into the microphone clearly.
Step 3 You can pause the recording at any time or simply stop the recording once you are done.
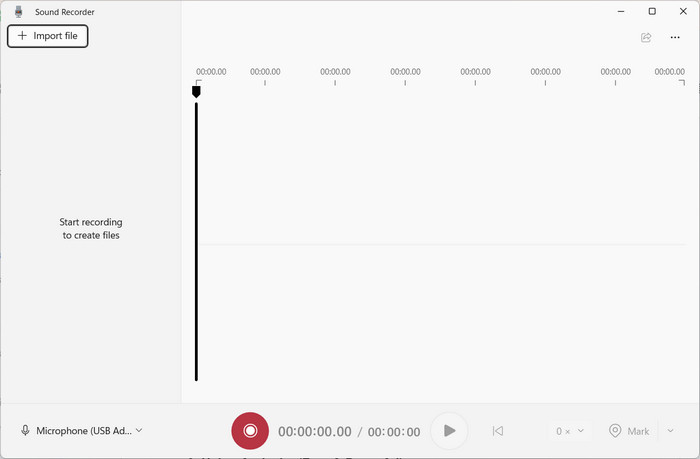
Step 4 The recording you made will be in Sound Recordings by default. You can rename the recording, and you can also edit it by trimming or sharing it directly from the app.
3. Using Audacity (Free & Powerful)
For Windows, Audacity is a free, powerful, and open-source solution for recording and editing audio that has the precise tools needed for. It is perfect for recording music, tutorials, podcasts, etc., because of its professional-level features.
Step 1 Download Audacity for Windows from the Audacity website and complete the installation process.
Step 2 Open the app Audacity and choose the input you are going to be using from the drop-down.
Step 3 Hit the Record button, which is red, to start recording audio.
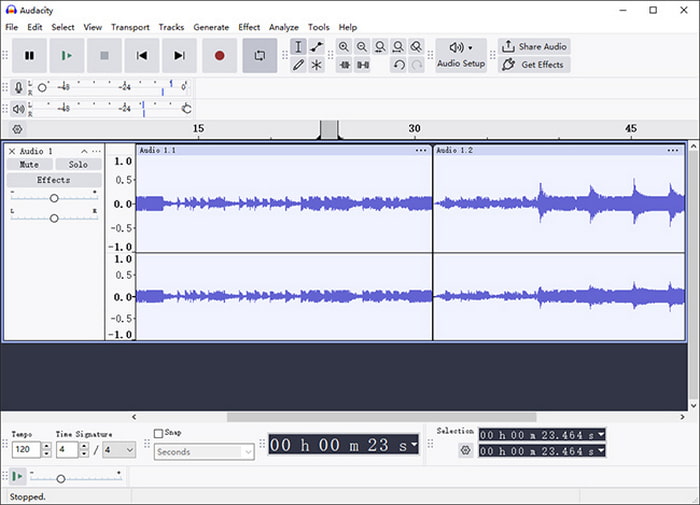
Step 4 When you are done, you click the Stop button and use the various tools Audacity has to modify it.
Step 5 Finally, click File, then Export, choose the audio format you prefer it to be and save it.
Part 2. How to Record Audio on Mac & MacBook
1. Using QuickTime Player (Built-in & Simple)
All Mac devices have a pre-installed app called QuickTime, which makes recording audio very easy. It is a lightweight app that is easy to learn and great for audio recording to save as voice memos, audio interviews, and other audio to keep for future projects.
Step 1 To start, open the QuickTime app on your computer. From the top banner, select File.
Step 2 From the drop-down, select the option that says New Audio Recording.
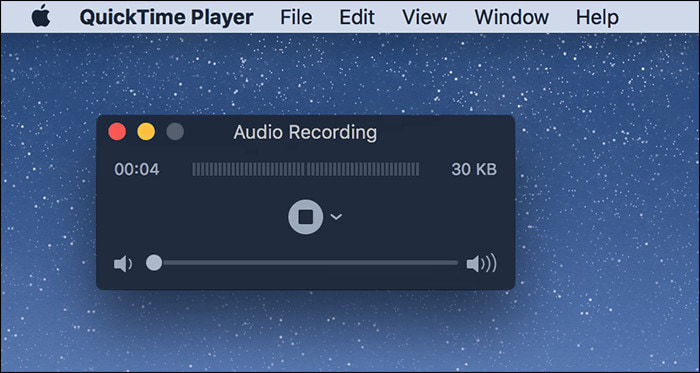
Step 3 Next to the recording button are several options. Click the drop-down.
Step 4 Select your internal or external microphone.
Step 5 To start audio recording, click the Record button, which is centered at the bottom as a red circle.
Step 6 To finish recording, click the Stop button. To save the audio recording, select File from the top banner, then select Save from the drop-down menu.
2. Using GarageBand (Built-in & Advanced)
GarageBand is the other built-in option. It is an audio and music app that has more tools and options that give you greater control in the recording process. It is a great app for editors, musicians, and podcasters.
Step 1 From the Applications folder, open GarageBand. Select New Project, then select Empty Project.
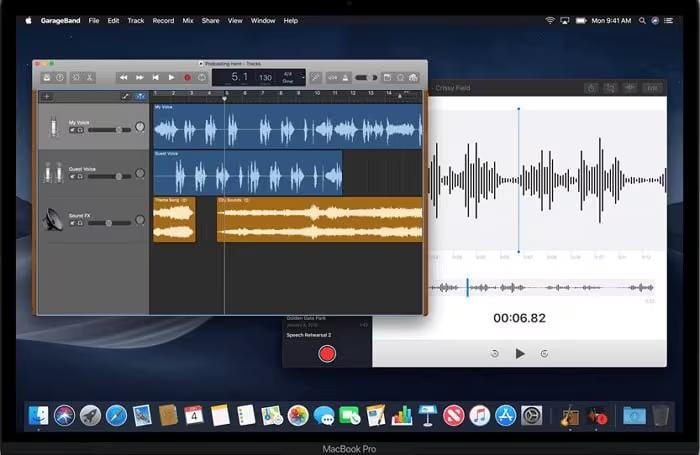
Step 2 To start your audio track, select Microphone as the input. Click Create. Select the track to adjust the volume input.
Step 3 Select the microphone that you will be using. Select an effect from the drop-down menu.
Step 4 On the bottom toolbar of GarageBand, click the Record button to start recording.
Step 5 Hit the Stop button when you are finished, then use the editing features in GarageBand so that you can trim, mix, and polish your audio.
Step 6 Go to Share > Export Song to Disk, select your format, and save the file.
Part 3. How to Record Audio on iPhone & iPad
1. Voice Memos (The Built-in App)
Voice Memos is an app that comes pre-installed on every iPhone and iPad. It is convenient and a great option for keeping a record of any audio, whether that is a lecture, meeting, or your own individual notes, and you can also compress an MP3 afterward if you need a smaller file size.
Step 1 Find the app in your home screen or app library and open it.
Step 2 Tap the red record button to start the recording. Make sure to talk directly into your microphone.
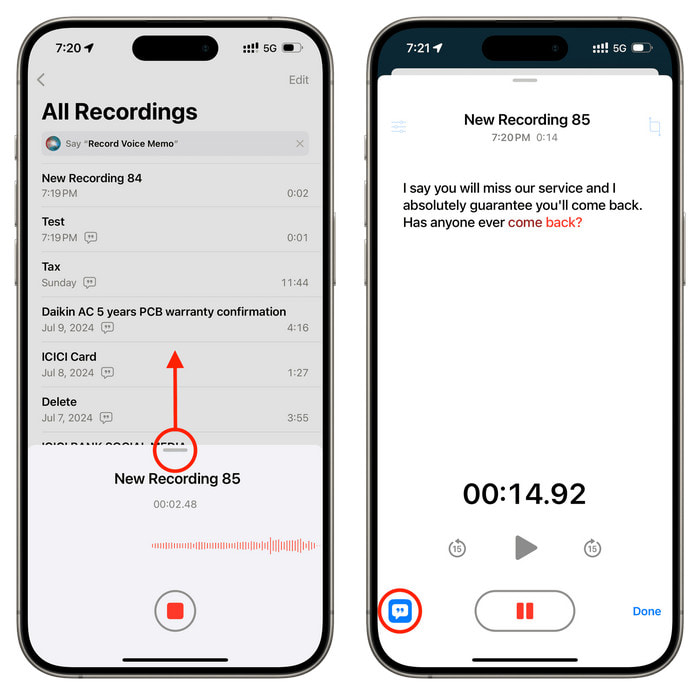
Step 3 Tap the Stop button to end the recording.
Step 4 Your recording is automatically saved. Tap on your most recent recording to trim it, rename it, or share it via Messages, Mail, or AirDrop.
2. Ferrite Recording Studio (Free & Professional)
Another app that can be used for recording audio is Ferrite Recording Studio. This app can record high-quality audio and allows advanced editing for free, and it works well with any audio extractor workflow if you need to pull sound from other sources.
Step 1 Find Ferrite Recording Studio on the App Store and download it.
Step 2 Please open it and tap on the + on the top left to create a new project and record.
Step 3 Tap on the red Record button to start.
Step 4 Click the record button to begin the capturing process.
Step 5 Click the Stop button once you have captured everything you need.
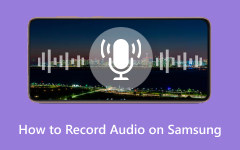
Part 4. How to Record Audio on Android & Samsung Phones
1. Voice Recorder or Sound Recorder (The Built-in App)
All Android smartphones, including Samsung devices, have an app available called Voice Recorder or Sound Recorder, which caters to simplistic needs such as note-taking, voice recording for future lecture meetings or personal notes.
Step 1 Find and open Voice Recorder or Sound Recorder on your phone.
Step 2 Press Record on your phone to start recording audio. Make sure to talk straight into the microphone.
Step 3 Press Stop when you are done, or you can use the Pause button during the recording if you need to.
Step 4 The app will save the audio recording on your phone automatically.
2. Easy Voice Recorder (Free & Popular)
One great app to use for voice recording that has more features, as well as offering quality recordings, is Easy Voice Recorder. Not only does it have features that allow the user to customize their preferences, but it also offers options like volume boost for clearer, stronger audio output.
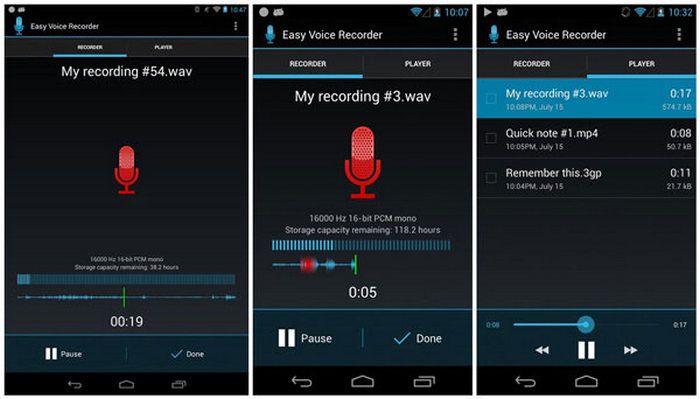
Step 1 Head to the Google Play Store, search for Easy Voice Recorder and download it.
Step 2 Open the application, select your desired audio format and audio quality, and proceed.
Step 3 Press the Record button, and the audio will start recording.
Step 4 Press the button saying Set to cancel the recording, or press the Pause button to interrupt the recording for a bit.
Part 5. Best Practices & Pro Tips for High-Quality Audio
1. Get the Best Sound
Multiple basic requirements should be met to have better recording quality while having a professional tone to your audio. When making your voice tutorials, podcasts, or voice-overs and recording them, these tips can be implemented to block and get rid of annoying sounds.
• Picking the Right Location: Find a place where you can be sure to have the least amount of background noise. Ensure the space is isolated and the windows and doors are closed.
• Microphone Position: Your voice should be 12-6 inches from the mic. This is a comfortable distance to limit background noise and ensure your voice is focused.
• Microphone Quality: You should consider the use of a quality external microphone, such as a usb microphone or a condenser microphone, as they capture audio with greater detail and richness and can be a good option for basic recording.
• Range of Speech: Be sure the recording is not either too quiet or too distorted that it is unusable. Most recording software, such as Audacity and GarageBand, has simple ways for you to monitor this.
• Maintain Consistency: Keep your microphone at a steady distance and angle, speak at a consistent volume throughout the recording, and compress audio file outputs when needed.
2. Recommended Audio File Formats
| Format | Best Use | Pros | Cons |
|---|---|---|---|
| MP3 | Podcasts, voice notes, and general recordings. | Small file size, widely compatible. | Lossy compression may reduce audio quality. |
| WAV | Professional editing, high-quality audio. | Lossless and preserves full sound quality. | Large file size. |
| AAC | Streaming, Apple devices. | Better quality than MP3 at a similar size. | Slightly less universal than MP3. |
| M4A | iTunes, Apple apps, podcasts. | High quality, efficient compression. | Limited support on some non-Apple devices. |
| FLAC | Archiving, music recording. | Lossless, excellent quality. | Large files, slower to process. |
| WMA | Windows platforms. | Good quality, smaller size than WAV. | Less supported on non-Windows devices. |
Conclusion
Record audio easily and professionally on any device once you know which tools to use and the best practices to follow. Whether you are capturing lectures, creating content, or saving important moments, built-in apps and advanced software give you the flexibility to record with clarity and confidence. By choosing the right method, monitoring your sound, and applying simple optimization tips, you can ensure every recording is clean, clear, and ready for sharing or editing anytime.
More Reading
About the Author