See that ball rolling back to the player instead of forward? That is an example of reverse video. Want to do that too? You are on the right page. Here, we will show you easy ways to reverse video on mobile phones, computers, and online. It is fun, simple, and creative. Ready to try? Let us go!
Part 1. What Is Video Reverse
Video reverse is a simple effect that makes your video play backward. It shows actions in reverse order, so jumps, walks, or spills appear to move the opposite way. This effect can be used for fun, creativity, or to highlight a specific moment in a clip. Some tools can also reverse the audio, but often it sounds strange, so you may choose to mute or replace it.
Part 2. How to Reverse a Video on iPhone or Android
1. CapCut
This popular reverse video editor app is built for users who want more control with less effort. You can reverse a video with one click and see the result right away. In addition, it also lets you trim clips and add effects before saving. It works well on both iPhone and Android.
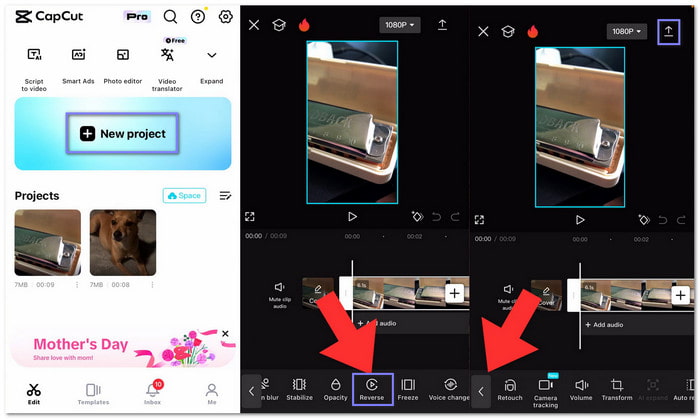
Step 1 Get CapCut from the Google Play Store or App Store. Once done, open it and press New Project or open a project you already made. Then, choose the video you want to edit.
Step 2 Once the project opens, press the video on the timeline. It will show the editing menu at the bottom of the screen.
Step 3 Scroll the bottom menu to the right. Look for Reverse. It looks like a play symbol with a circle. Tap it, and please wait while the app processes the video.
Step 4 After processing, the video will play backward. Preview the result. After that, export the video to save it to your phone.
The good and the bad: CapCut is free to use, and the reverse feature works smoothly. It supports many video formats and saves in good clarity. The downside is that older phones may feel slow during processing. Also, some effects and other advanced features require you to subscribe to the paid version.
2. Reverse Vid
Reverse Vid is a popular app to reverse video on iPhone. It focuses only on playing videos backward. You can change the playback speed and hear the audio reversed, too. It also supports replay mode and partial reversing. Many users enjoy hearing voices and sounds played in reverse for laughs and short videos.
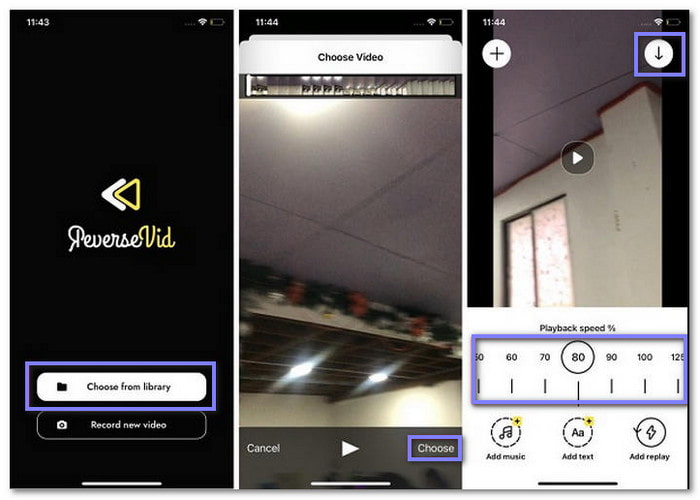
Step 1 Get Reverse Vid from the App Store. Launch the app and press Choose From Library to pick a video from your phone.
Step 2 Select your video and press Choose. The app will load the video into the editor screen.
Step 3 Pick the playback speed you like. You can keep the normal speed or slow it down for effect.
Step 4 Once settled, press the Download button. The app will reverse the footage and save it to your device.
The good and the bad: Reverse Vid reverses both video and audio by default. It is simple and quick to use. You can also share videos on social apps easily. The main issue is too many ads and pop-ups. Some features also require a paid subscription to unlock.
Part 3. How to Reverse a Video on Windows or Mac
Let us move on to how to reverse a video on Windows or Mac using Tipard Video Converter Ultimate. This program supports a large number of video formats, like MP4, MOV, AVI, MKV, and more. With that benefit, you can work with almost any video file you want to reverse.
It also allows you to select just a part of your video to reverse, giving you full control over your edits. In addition, it can speedily reverse your video with a high frame rate, keeping the playback smooth and clear.
Why we select it: Aside from converting video and audio files to different formats, it offers many useful features, including the video reverser. With a few basic steps, you can get your reversed video ready. It makes it really perfect for first-time users who want a reliable program without any confusion.
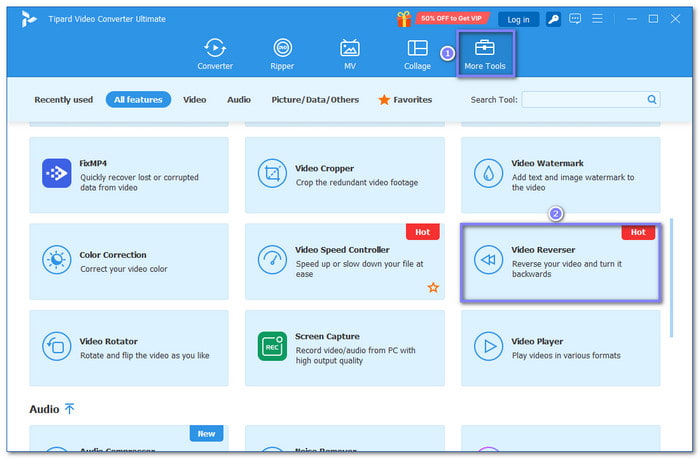
Step 1 Free download Tipard Video Converter Ultimate from the official website. Then, please install it by following the on-screen steps.
Step 2 Navigate to the More Tools panel on the main screen. Next, look for and select Video Reverser. You can also type the feature name in the search box to find it faster.
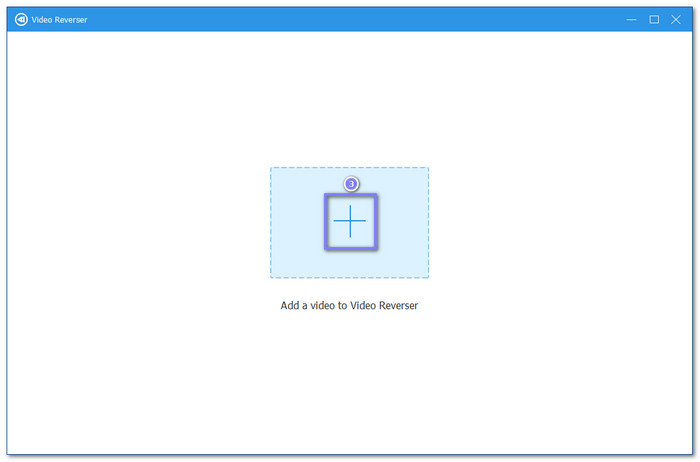
Step 3 Now, click the Add button to import the video you want to reverse. You can also select and drop the video into the center area to load it immediately.
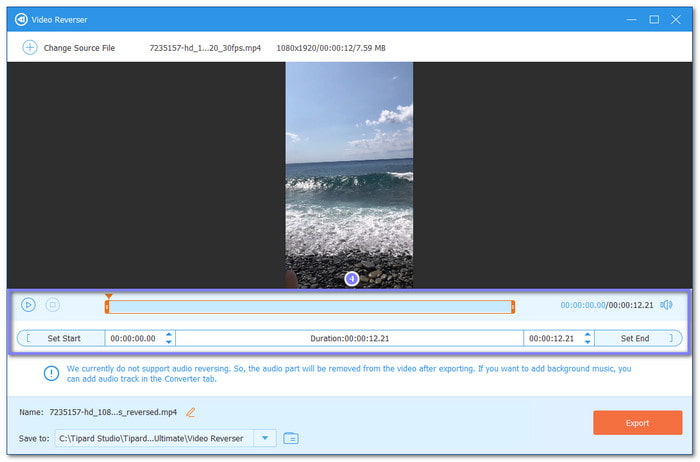
Step 4 Once the video is loaded, you can reverse the whole clip right away. If you only want to reverse part of it, set the start and end points by moving the play heads or clicking Set Start and Set End.
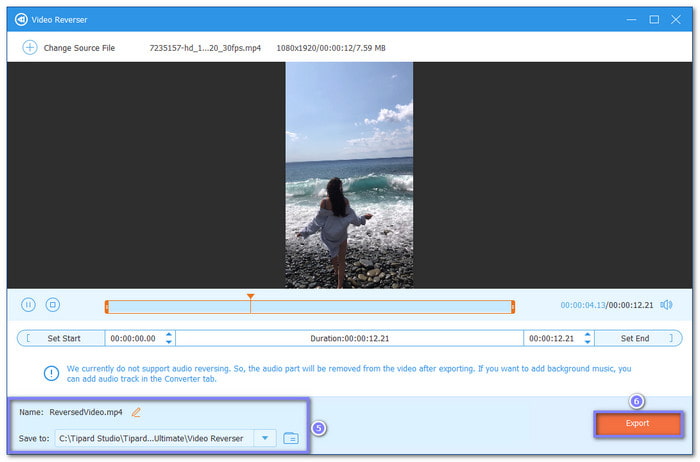
Step 5 Rename your reversed video and choose where to save it using the Save To option. After everything is set, click the Export button to save your reversed video to your Windows or Mac local folder.
The good and the bad: Tipard Video Converter Ultimate offers more tools like a video speed controller, compressor, trimmer, and merger, but the free version limits how many files you can process.
Part 4. How to Reverse a Video Free Online
1. Adobe Express
If you want a clean and trusted platform that works right in your browser, Adobe Express is one of them. It lets you reverse videos online for free by using the quick feature. Just upload a clip and modify the speed before saving it. After that, you can place the reversed video into a project and add text or layouts.
Step 1 Go to Adobe Express using your browser. On the home page, press the Add button and choose Reverse Video under Quick Actions. Then, please upload the video you want to reverse.
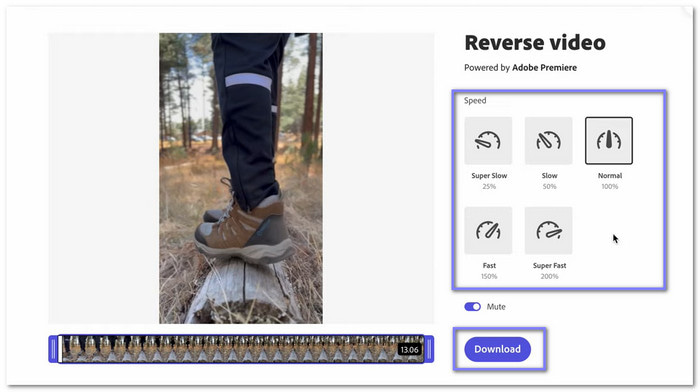
Step 2 After the video loads, choose the speed you want. You can keep it normal or slow it down. You can also mute the audio if needed, since reversed audio sounds strange.
Step 3 Finally, press Download to save the reversed video. Now, go back to the Adobe Express home page and press the Add button again and start a new video project.
Step 4 Upload the reversed video into the project. Adjust the layout if the video is vertical. Once satisfied, preview the result and download or share the final video.
The good and the bad: Adobe Express feels safe and stable. The interface is clean and basic to follow. It works well for school and simple projects. The downside is that video reversing is not built into the editor itself. You must use quick actions first.
2. Ezgif
Ezgif is made for fast online edits with no sign-up needed. You can import a video or paste a link and reverse it in seconds. It keeps the same video clarity and does not add watermarks. You also get full control over the sound. You can keep it mute or mute it too.
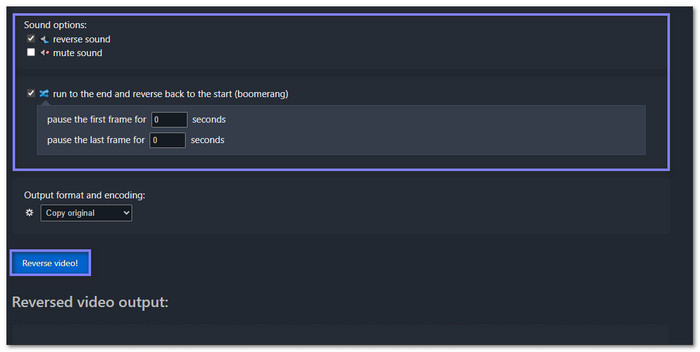
Step 1 Open the Ezgif - Online Reverse Video Tool website in your browser. Tap Choose File to upload a video or paste a video link.
Step 2 After upload, the Reverse option is already selected. You can mute the sound or reverse the audio, too, if you want.
Step 3 You can also turn on the boomerang option to play the video forward and backward.
Step 4 Once done, tap Reverse Video. Please wait for processing. Scroll down and download the reversed video to your device.
The good and the bad: Ezgif is fully free and works right away. You can upload up to 200 megabytes. You can also reverse GIFs with it. However, the interface looks basic and outdated. Large files may also take longer to process.
3. Kapwing
Kapwing lets you reverse YouTube videos and play videos backward in real time, then export them with ease. It runs in the cloud so that you can edit on any device. Many creators like it because it mixes simple tools with smart features and a clean workspace that feels modern and friendly.
Step 1 Head to the Kapwing - Reverse Video page. Tap Choose a Video and upload the video from your device.
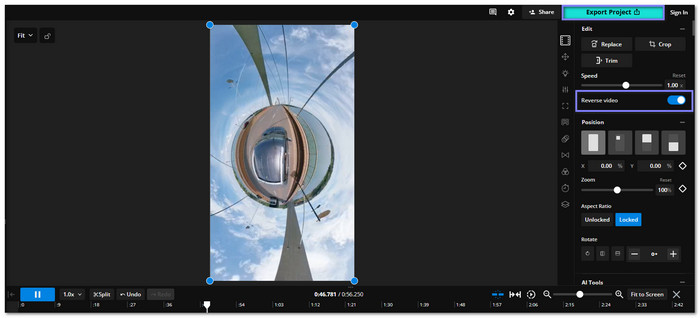
Step 2 Once uploaded, move the video to the timeline. Then, click the clip to open the Edit panel.
Step 3 Find the Reverse video option and turn it on. Preview the video to check if it plays backward correctly.
Step 4 If it plays the way you want, press Export Project. After processing, download the reversed video or share it online.
The good and the bad: Kapwing can reverse MP4, MOV, MKV, and WebM files quickly and supports teamwork and cloud access. However, free exports may include limits, and internet speed can affect performance.
Part 5. Tips for the Best Video Reverse Effect
A video played in reverse can be fun and creative. Try these tips for the best results:
1. Funny Motions: Videos of people jumping, throwing, or spilling can appear hilarious when reversed. To make the effect more entertaining, pick clips with dramatic or unexpected movements.
2. Slow Motion: The movements become smoother and simpler to follow when reverse and slow motion are combined. It allows viewers to see every detail clearly and works well for sports clips, dances, or tricks.
3. Audio Problems: Keep in mind that reversed audio can sound strange or messy. You can mute it, replace it with music, or adjust it separately to avoid distracting sounds.
These tips help your reversed videos look creative, smooth, and fun.
Part 6. FAQs on How to Reverse Video
Where can I play a video in reverse?
You can play a video in backward using apps like CapCut, Reverse Vid, or online tools like Kapwing and Ezgif. These platforms let you reverse the whole clip or just a part of it, and you can preview it in real time before saving.
Does iMovie let you reverse video on iPhone?
No, iMovie does not have a built-in feature to reverse video on iPhone. You would need to use other apps like CapCut or Reverse Vid to achieve the reverse effect.
Which app can reverse videos?
Several apps can reverse videos easily. Popular options include CapCut and Reverse Vid. They work on both iPhone and Android and offer extra features like adjusting speed or muting audio for better results.
Conclusion
It is indeed so fun learning how to reverse a video, right? Seeing actions play backward can be funny, surprising, and creative. You can make ordinary movements look unusual or highlight special moments in a clip. For Windows and Mac users, Tipard Video Converter Ultimate can reverse entire videos or just a part of them in a few simple steps. Test it out!
More Reading


About the Author