There is something magnetic about watching genuine reactions, laughter, shock, or awe, caught in real time. That is what makes reaction videos one of the most addictive formats. If you have ever wanted to capture that same energy, this guide will show you how to create reaction videos that stand out. With smart planning, the right tools, and creative editing, you can craft engaging content that entertains and resonates with your audience.

Part 1. The Golden Rule - Understanding Copyright & Fair Use
Understanding the concept of Fair Use is one of the first steps you should take before creating any reaction video. Fair Use is the ability to use small pieces of copyrighted work without permission, legally, to comment, critique, educate, or report the news. There are no limits to the amount of copyrighted work you can use, but you are required to add value to the work. If you show the original clip and smile, you are not adding value.
For use to be considered Fair Use, your reaction should change the initial video.
- Do: Provide educational analysis, critique, or humor.
- Don't: Play an entire video without commentary or sit quietly as it runs.
Practical Tips to Avoid Copyright Strikes:
1. Avoid using the full video source. Use short, relevant clips.
2. Provide real value. Your insights or reactions should be the highlight.
3. Modify the clip. You can resize it, mute parts, or use picture-in-picture.
4. Provide creator credit. Always cite the source in your video and description.
Part 2. The Gear & Software You Need
To create a professional reaction video, you do not need a Hollywood studio, just the right combination of gear and software.
1. Tipard Video Converter Ultimate
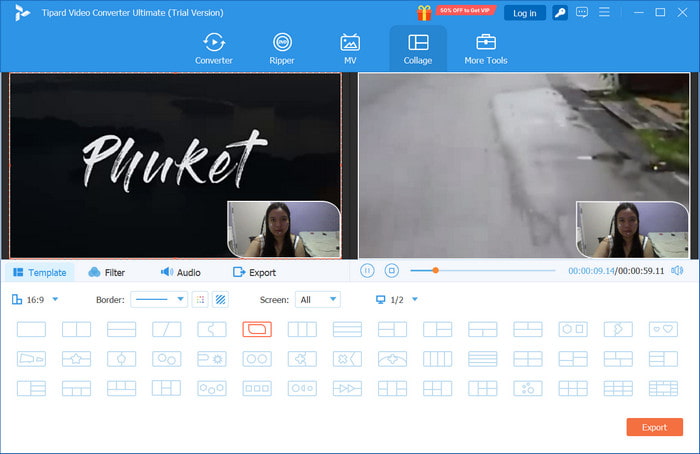
Tipard Video Converter Ultimate is a multifaceted software that encompasses ease in editing, converting, and optimizing videos, all in one software. It is compatible with over 500 formats and includes tools for cutting, cropping, watermarking, and clip enhancements. You are able to make split-screen effects, collages, and overlays, which are ideal for reaction videos. Its 60x faster GPU acceleration ensures smooth performance even with 4K or HD files.

- Integrate your reaction and source videos using picture-in-picture or side-by-side formats.
- Automatically adjust and enhance brightness, contrast, and colors.
- Resolve sync problems and adjust volume levels for clear commentary.
- Before exporting, you can trim, crop, rotate, apply filters, and add text.

2. iMovie (macOS & iOS)
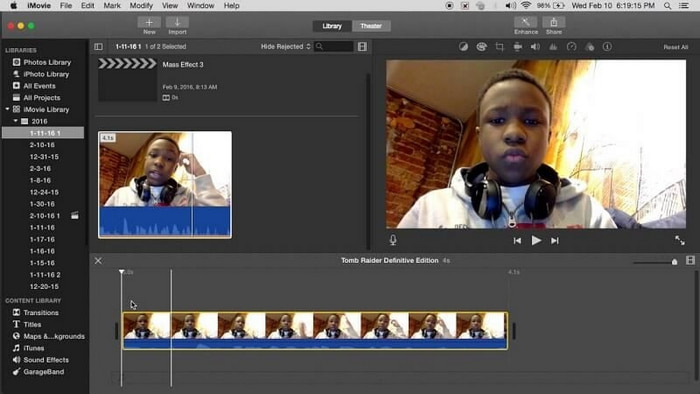
As an Apple user, iMovie is an intuitive and easy-to-use option for you. You can, for instance, trim, layer, and add transitions and filters to your videos. It is also ideal for novices since it offers the ability to obtain clean edits, smooth transitions, and background music without any complicated configurations. Aligning your reaction clip next to the source clip and tuning the volume levels is very straightforward.
3. CapCut (Windows, Mac, iOS, Android)
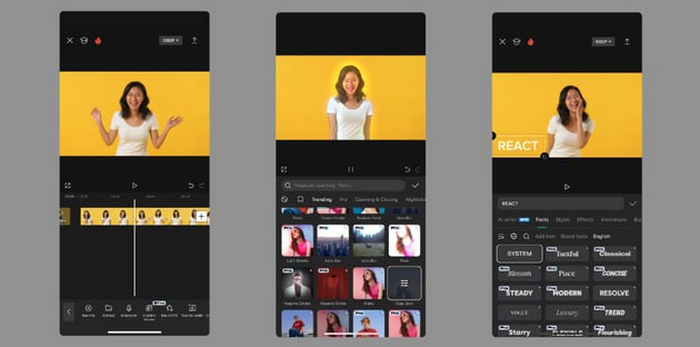
For mobile creators and short-form video platforms such as TikTok and YouTube Shorts, CapCut is fantastic. There are lots of built-in filters, animations, and templates to help in creating visually stunning and attractive reaction videos. You can sync your reactions to the source clip, apply video correction to improve lighting or color, and export videos in social media optimized formats.
Part 3. The Step-by-Step Creation Process
Now that you have the necessary tools, you can get to work. Here are the steps to follow for creating a reaction video.
Step 1: Pre-Production - Plan Your Reaction
Planning your responses before recording is beneficial. Before recording, watch the source video so that you can work out the parts that you find interesting. Make sure to write down sections that you may want to pause and analyze.
There are a few questions to help guide your thought process:
- What do I want my audience to understand, or what emotions do I want to provoke?
- How can I contribute a different noticeable perspective?
- What additional communication or part of a viewpoint do I want to bring in?
Overlays and intro/outro clips are great ways to embellish your work. Thinking about your background for recording, setting up appropriate lighting, using an HD webcam, and eliminating background noise will improve the recording environment.
Step 2: Recording – The Two-Track Method
For a smooth workflow, integrate the recording of your reaction and the source video separately, which is referred to as the two-track method.
Here is the process:
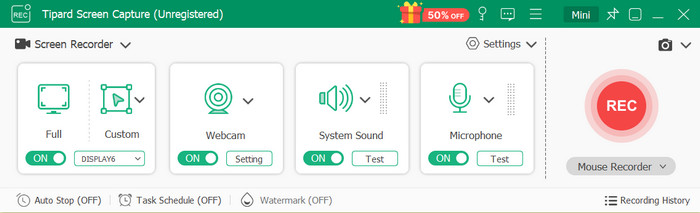
- Recording the Source Video: While doing a video reaction, use the screen recorder Tipard Screen Capture software to capture the clip you are reacting to. You can capture just the playback window or an entire desktop area.
- Recording Your Reaction: At the same time, use your webcam or an external camera to capture your video, and ensure that your audio commentary is also recorded.
Step 3: Editing – Weaving It All Together
You can use Tipard Video Converter Ultimate to integrate all your recordings into a single, seamless reaction video. The software allows one to efficiently merge, edit, and improve the footage using the various features available.
1. Import Your Footage
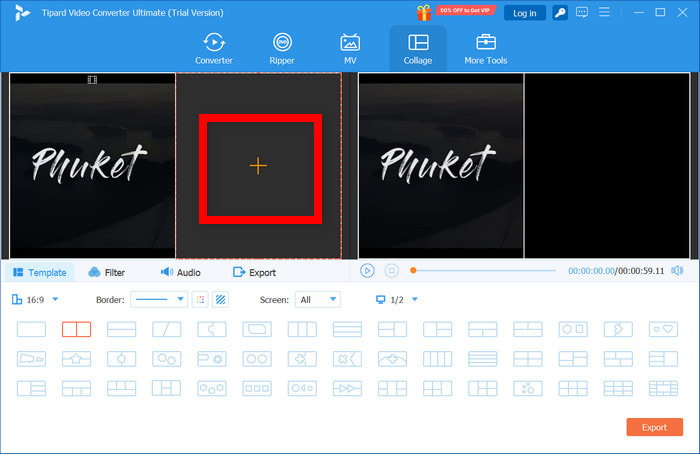
Go to Tipard Video Converter Ultimate, and navigate to Collage on the main menu. From there, use the + buttons to import both your reaction recording and the source video.
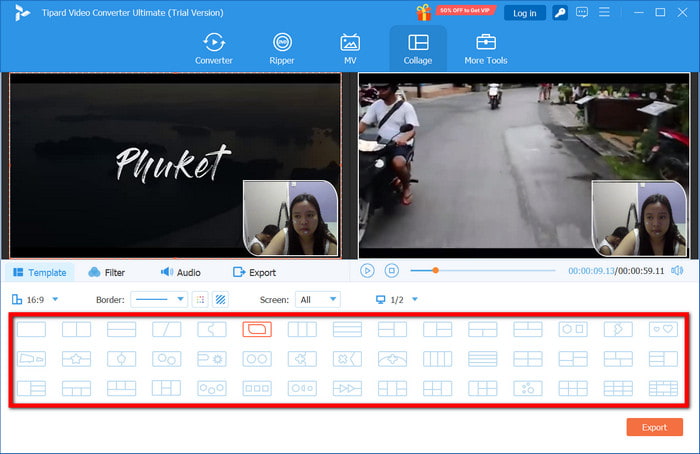
2. Choose a Layout
In the Collage section, select a side-by-side or picture-in-picture layout that best fits your style of reactions. It is straightforward to resize and reposition your reaction clip to make it the focus while the source video plays in a smaller frame.
3. Sync the Clips
Sync the clips first, make sure your timeline settings are done, then slim alignment and timing of your reaction clips to the source video to ensure your timing aligns accurately with the happenings on screen.
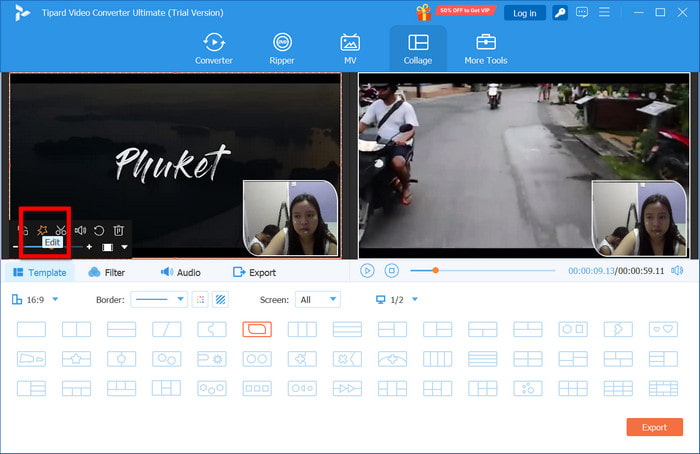
4. Enhance the Video
To improve the video further, use the Edit section to adjust the brightness, contrast, and color. You can also clear silent portions, use a filter, and add background music to make the video more interesting and engaging.
5. Add Subtitles and Commentary
Add text and voice for little commentary using the Subtitles and Audio tools. You can also speed up video sections to emphasize reactions or maintain pacing. In moments of the video when timing is crucial or a joke is delivered, this helps people follow along.
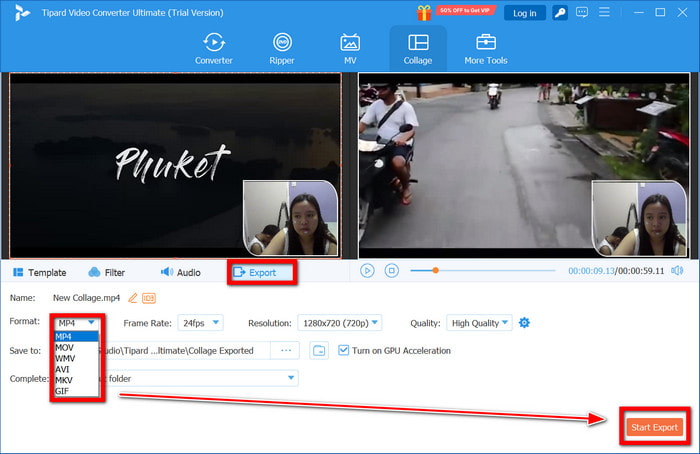
6. Export Your Final Video
When you like the final setup of the video, choose your preferred video format by clicking Export. Your options are MP4, MKV, or MOV, along with a choice for the best resolution, YouTube, and other social platforms. Lastly, click Start Export for the final video.
Part 4. FAQ of Reaction Videos
1. How to make a reaction video without showing your face?
If being on camera is a problem, showing reaction videos as voice only is a good option. You can screen and record the source video or the relevant visuals, and then provide voice commentary. In order to engage, use animated avatars or text captions.
2. How to make AI reaction videos?
Automate your reaction clips through AI avatars or voice generators for video reaction. You can use Synthesia or HeyGen, where you can provide a text, and an AI presenter will read it.
3. How to make reaction videos on YouTube without copyright?
Always use transformative editing. Keep clips short, include commentary, and make sure your video provides educational or comedic value. Credit the source, and if possible, link to the original content in your description. Use the editing tools of Tipard Video Converter Ultimate to crop, mute, or watermark copyrighted footage responsibly.
Conclusion
Learning how to make a reaction video is more than just filming your response; it is about sharing perspective and emotion. With the right tools like Tipard Video Converter Ultimate, you can craft authentic, high-quality reactions that entertain, inform, and connect with viewers across any platform.
More Reading


About the Author