Ever wondered how to record Clash Royale right after pulling off a perfect last-second win or discovering a clever deck strategy worth sharing? Whether you want to save epic battles, create tutorials, or show friends your best plays, recording gameplay is essential. The good news is that Clash Royale can be recorded easily on iPhone, Android, and even a desktop. This guide walks you through simple, reliable methods for every platform.
Part 1. How to Record Clash Royale on iPhone
Apple users can use the built-in recording to record Clash Royale without needing to download any other apps. You also would not have to worry about third-party apps if you want to keep your recordings private. All recordings will be saved to your Photos app.
Here is how to record Clash Royale on iPhone:
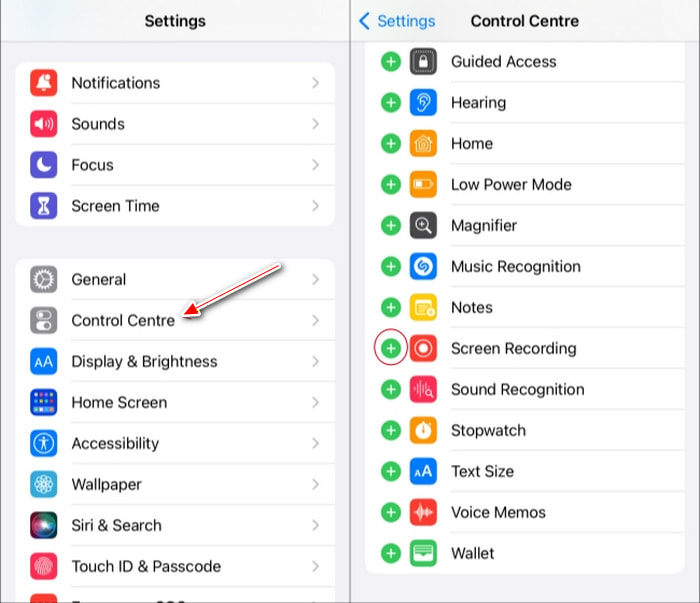
Step 1 First, go to Settings, then Control Center, and you can find Screen Recording, then tap the plus sign to add it to the Control Center.
Step 2 Next, on Clash Royale, find the gameplay or replay you want to record and open it.
Step 3 Swipe down from the top right corner of the screen, and you will be able to access the Control Center. Then just tap the Screen Record button, and after a 3-second countdown, your recording will start.
If you would like to record your voice, press and hold the Screen Recording button to turn on the microphone.
Step 4 Step 4. When finished, swipe down to open the Control Center again and tap the Screen Recording button to stop recording. The video will be saved in the Photos app.
Part 2. How to Record Clash Royale on Android
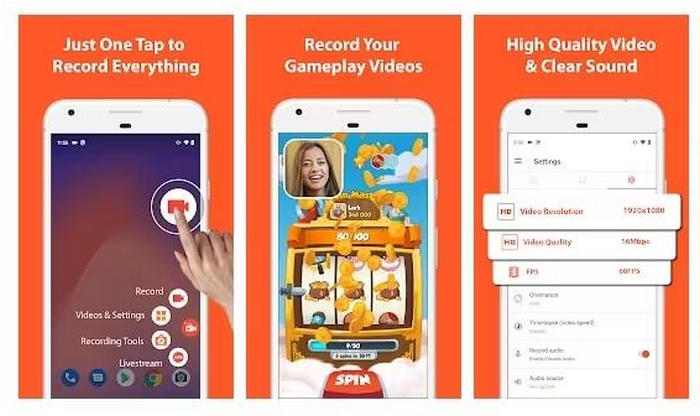
You can record Clash Royale on Android devices using built-in tools or third-party game recording software. If you are looking for flexible settings and basic editing features, AZ Screen Recorder is reliable.
To record Clash Royale on Android using AZ Screen Recorder, follow the steps below:
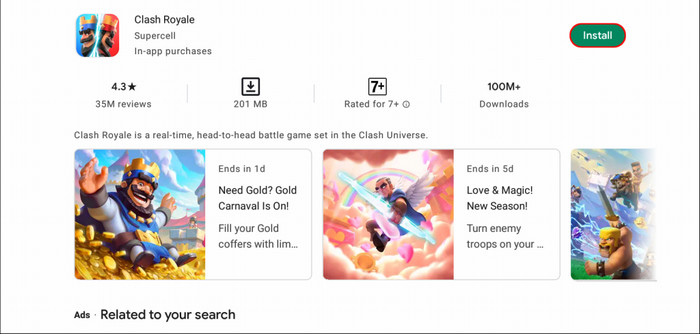
Step 1 From the Google Play Store, download and install AZ Screen Recorder, then open the app.
Step 2 Press the Settings button to customize the recording features like video resolution, frame rate, and audio settings.
Step 3 Launch Clash Royale. You will see a floating control icon from AZ Screen Recorder.
Step 4 Press the floating button and choose the Record button (which looks like a camcorder) to start recording your gameplay.
Step 5 When you are done recording, press the floating button again and choose Stop. The video will automatically be saved to your gallery.
Part 3. How to Record Clash Royale on Desktop in High Quality
You can do much more in terms of managing the audio, quality, and screen layout when you record Clash Royale on your desktop. It is also easier to display your gameplay when using large screens. Tipard Screen Capture is a great choice for recording Clash Royale on Windows and Mac.
Play Clash Royale on a Computer
Set up Clash Royale on your computer using Google Play Games or an Android emulator, then record gameplay with Tipard Screen Capture.
Step 1 Google Play Games (beta) has been released for Windows users, so download that. Mac users should download a stable Android emulator.
Step 2 Starting Google Play games (beta) or the Android emulator
Step 3 Use your Google account to log in, then look for Clash Royale.
Step 4 Start the game to check that it works.
The game should run fine (if you have followed the steps properly). Now you can start to record the game using Tipard Screen Capture.
Record Clash Royale on Desktop
Step 1 Record Clash Royale
Download the Tipard Screen Capture program and install it on your Windows or Mac. Once it is successfully installed, run the program.
Step 2 Play Clash Royale on the Computer
Open the game up, and make sure that it is ready to be recorded.
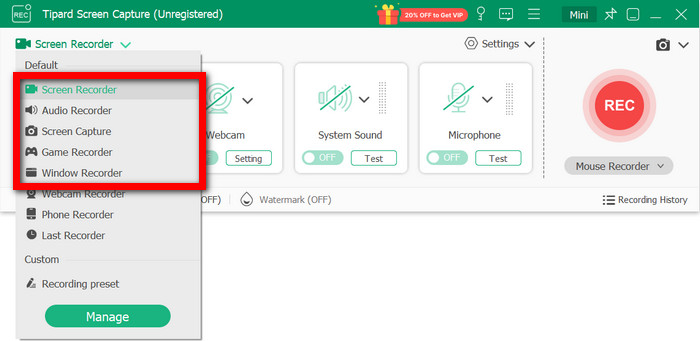
Step 3 Pick the Recording Option
In Tipard Screen Capture, click Game Recorder, Screen Recorder, or Window Recorder, and then decide if you want to record your entire screen, a specific application window, or a portion of the screen that you can outline.
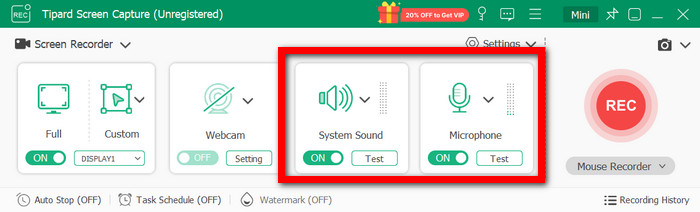
Step 4 Configure Your Audio and Webcam Settings
To record audio from the game, turn on System Sound and enable your Microphone for commentary. You can also check Webcam Overlay if you want to record your face while playing.
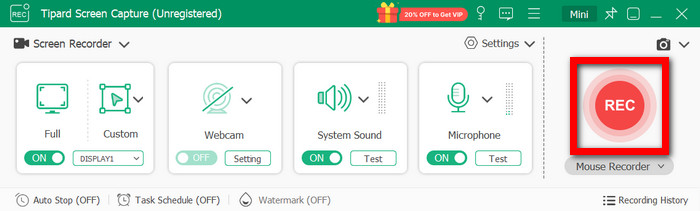
Step 5 Start Your Clash Royale Recording
Press the REC button to start recording. You can commentate on the event and use annotation tools to write on the screen and highlight actions.
Step 6 Stop and Keep Your Recording
Press Stop to finish recording. You will have the option to preview the recording and then save it to your computer or share it on social media.
Why We Selected It
You can easily record Clash Royale gameplay on your PC or mirrored mobile devices with high-quality video and audio for tutorials, highlights, or sharing online. Tipard Screen Capture is a video capture software with high-quality AV1 video and FLAC audio, tools to manage and share recordings easily, and a webcam overlay for commentary.
Conclusion
To record gameplay of Clash Royale correctly, selecting the optimal method based on your device can enhance video quality and user experience. Screen recording on iPhones and Androids can be done using their built-in features or a preferred screen recording app. Desktop recording, on the other hand, provides more quality options and control over the video and even the audio. Dedicated recorders like Tipard Screen Capture perform better, too. No matter your platform, these methods help you save epic battles, create tutorials, or share highlights with friends and fans. Pick the approach that fits your setup and start capturing your best matches today.
More Reading


About the Author